
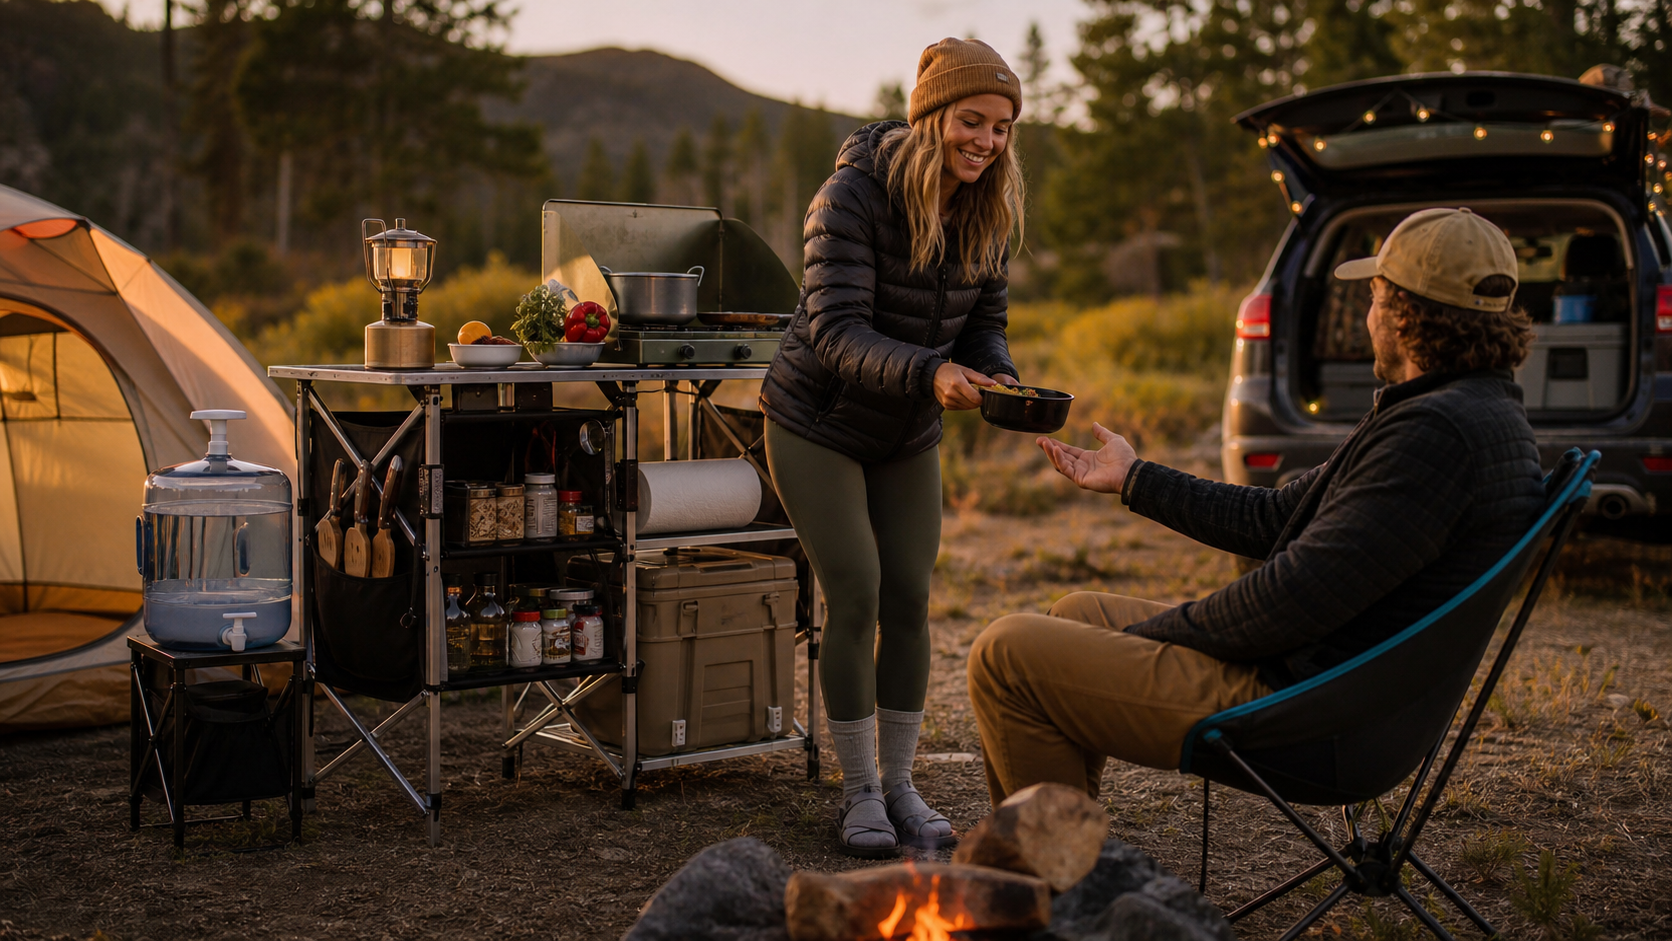
Camp kitchen organizer choices decide whether dinner at camp feels smooth and fast or turns into ten minutes of digging through loose utensils, wet soap, and half-open food bags. The best setup is not the fanciest box on the market. It is the one that fits your campsite footprint, keeps clean and dirty gear separated, protects food from weather and wildlife, and lets you reset the whole station in a couple of minutes after every meal.
Key Takeaways
- Match your organizer to your trip style: weekend tote, weatherproof bin, or full chuck box.
- Separate prep, cook, wash, and trash zones so the table does not become one messy pile.
- Plan for food safety and wildlife rules, not just convenience.
- Fast setup matters more than extra compartments you never use.
- The best organizer saves time at every meal and makes cleanup easier before dark.
Table of Contents
- 1. Match the Organizer to Your Campsite Footprint
- 2. Camp Kitchen Organizer Types That Actually Work
- 3. Build Separate Prep, Cook, Wash, and Trash Zones
- 4. Store Food and Smelly Gear Like Wildlife Rules Matter
- 5. Choose Features That Save Real Setup Time
- 6. Common Buying Mistakes and Real Downsides
- FAQ
- Final Verdict
1. Match the Organizer to Your Campsite Footprint
The right organizer starts with space, not storage theory. A solo weekender using one picnic table needs something very different from a family basecamp that runs a two-burner stove, cooler, dish tub, and coffee setup at the same time. If your organizer is too large, it steals prep room. If it is too small, loose gear spills onto benches, the cooler lid, and the ground.
A practical rule is to picture your meal flow before you buy. You need room for a stove zone, a cutting or plating zone, and a cleanup zone. That is why many campers do better when they pair the organizer with a dedicated foldable camping table instead of trying to balance everything on one crowded picnic table. REI’s camp kitchen checklist is useful here because it reminds you that the organizer is only one part of the work surface, not the whole kitchen.
For most car campers, the sweet spot is an organizer that carries utensils, spices, soap, towels, and small prep items while leaving bulky cookware and food in separate bins. That split keeps the kitchen lighter to carry and easier to restock at home.
2. Camp Kitchen Organizer Types That Actually Work
There are three organizer styles worth considering, and each has a clear use case. Soft organizers are light, fast to pack, and easy to store in a vehicle. Hard bins handle bad weather and stack better. Chuck-box style systems create the cleanest full kitchen, but they are heavier and take up more cargo room. REI’s updated camp kitchen setup guide leans the same direction: build the amount of kitchen your trip actually supports instead of dragging a full outdoor pantry onto every overnight.
| Organizer Type | Best For | Advantages | Drawbacks |
|---|---|---|---|
| Soft tote or hanging organizer | Weekend car camping, smaller vehicles | Light, quick to grab, easy to compress when empty | Less weather protection, can sag when overloaded |
| Hard bin with trays or pouches | Wet climates, stacked vehicle loads, family trips | Protects gear, wipes clean, stacks well with food bins | Heavier, often less efficient for small items unless you add pouches |
| Chuck box or folding kitchen cabinet | Longer stays, group camps, overland-style setups | Best workflow, clear zones, minimal table clutter | Bulky, slower to lift, overkill for short trips |
The mistake is buying the most elaborate system before you know your routine. If you already cook simple meals and use a compact camping cooking kit, a lighter organizer often works better than a heavy cabinet with shelves you never fill. If you travel with kids or stay several nights, a chunkier chuck box can pay off because every repeated meal setup gets faster.
3. Build Separate Prep, Cook, Wash, and Trash Zones
Good camp kitchens behave like small workstations. That means grouping gear by task, not by random category. Put prep tools together: knife, board, tongs, spatula, small oil bottle, spices. Keep cooking tools near the stove. Place soap, scrubber, towels, and sanitizer in one cleanup pouch. Give trash and recycling their own predictable corner so wrappers do not collect around the stove.
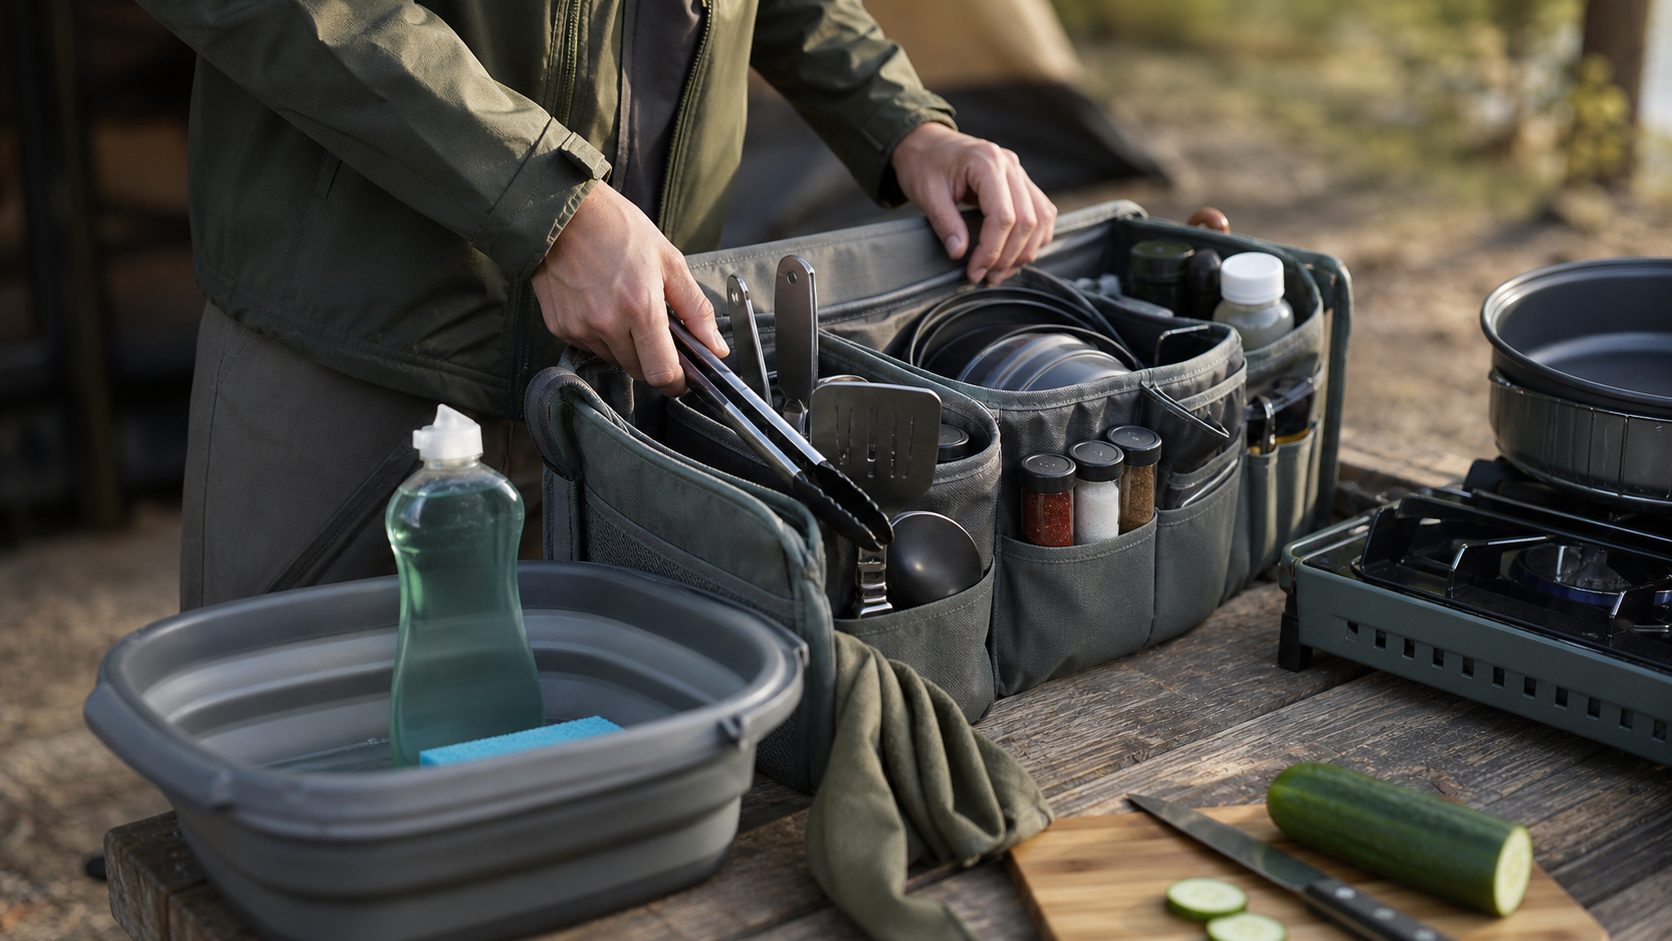
The National Park Service notes in its cooking in camp guidance that organization matters because supplies need to stay accessible, hands should be washed before touching food, and cleanup needs to happen thoroughly after meals. That sounds basic, but it directly affects what should live in your organizer. A roll of paper towels, hand sanitizer, and a small hand-washing kit deserve permanent spots, not leftover space.
If your cold food lives in a separate cooler, make the path between cooler and prep zone short and obvious. That reduces the number of times meat, condiments, or eggs sit out while you search for a utensil. Campers who carry a portable camping fridge can be even more disciplined, because the organizer only needs shelf-stable cooking items and cleanup supplies.
4. Store Food and Smelly Gear Like Wildlife Rules Matter
This is where many pretty camp kitchen setups fall apart. An organizer can make camp look dialed in while still doing a poor job with food safety and wildlife control. USDA food-safety guidance for hiking and camping recommends thinking about cooler time, separation of raw and cooked foods, and keeping perishables cold enough to avoid the temperature danger zone. The U.S. Forest Service food guidance echoes the same point: plan meals, separate raw foods from cooked foods, practice hand hygiene, and do not leave food unattended.
Wildlife rules matter just as much. Rocky Mountain National Park specifically says camp kitchens must be kept clean, and that coolers, dirty stoves, cookware, garbage, and toiletries all count as attractants that must be stored properly. That means your organizer should not become the overnight home for food residue, greasy utensils, or open spice bottles. If it smells like dinner, wildlife may treat it like dinner.
A smart packing pattern is simple:
- Keep shelf-stable pantry items in sealed containers inside or beside the organizer.
- Store raw proteins separately in the cooler or fridge, never in the organizer pockets.
- Use a dedicated wash pouch for soap, sponge, sanitizer, and towels.
- Reset the organizer after dinner so only clean, dry tools go back inside.
If you also run a hygiene station, keep it next to the kitchen but not mixed into it. A separate portable camping shower or wash setup helps, but your hand soap, quick towel, and dish bin should still be reachable from the cooking area.
5. Choose Features That Save Real Setup Time
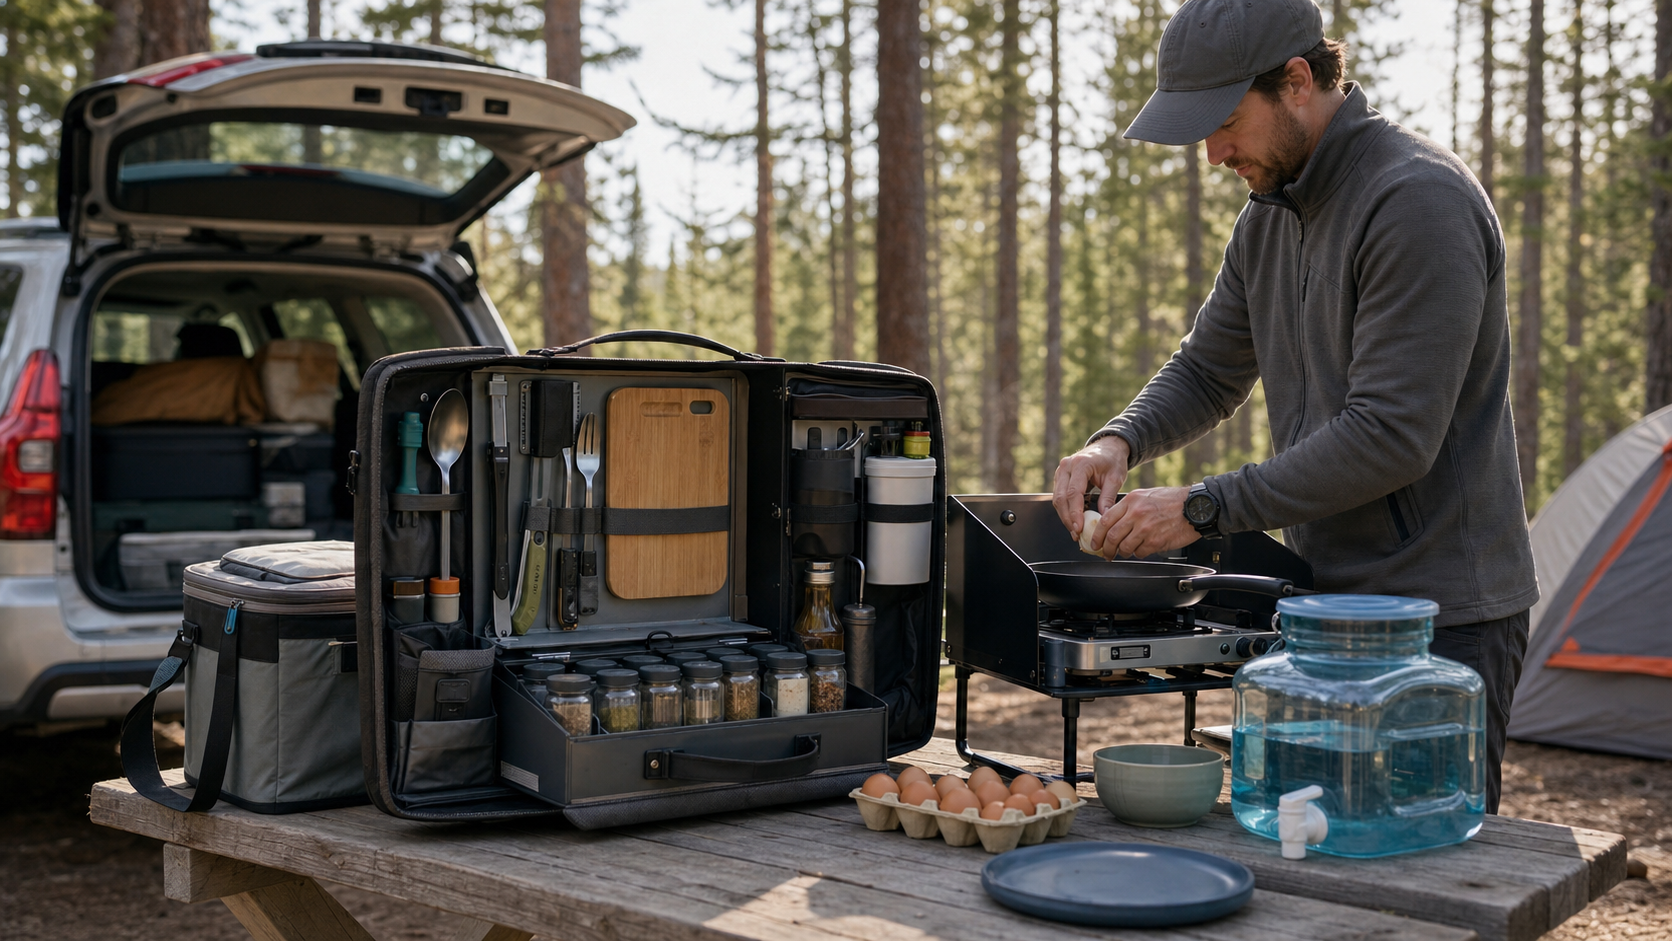
The biggest quality-of-life upgrade is not extra storage volume. It is fewer decisions at mealtime. Look for handles that are easy to grab one-handed, rigid sidewalls that do not collapse while you search, zippered lids that keep dust out in transit, and pockets sized for the tools you actually use. A drawer full of awkward little slots often looks organized in product photos and becomes annoying by trip two.
Useful features for real campers include removable pouches for spices or coffee, wipe-clean liners, quick access utensil sleeves, and enough structure to stand open on a picnic table. If your site gets dark early, it also helps to keep a small task light packed with the kitchen instead of hunting for it later. That is one reason campers who care about meal flow often pair the setup with better battery-powered campsite lighting rather than relying on one lantern for the whole site.
Affiliate disclosure: If you buy through the product search links below, we may earn a commission at no extra cost to you.
- Camp kitchen organizer options on Amazon
- Camping chuck box options on Amazon
- Collapsible dish tub options on Amazon
- Refillable camping water jug options on Amazon
- Camping utensil set options on Amazon
The most helpful products are the boring ones: a wash bin that nests flat, a water jug that pours cleanly, or a utensil roll that keeps sharp edges from rattling loose. If you already keep toiletries in a separate portable wash bag, apply the same thinking to the kitchen: smaller kits with one purpose each are easier to restock than one giant chaos bin.
6. Common Buying Mistakes and Real Downsides
Most camp kitchen organizer mistakes come from buying for appearance instead of use. Here are the ones that cost campers the most time:
- Choosing too many tiny compartments that only fit specific items.
- Using soft-sided organizers with no internal structure for heavy cookware.
- Storing damp sponges, towels, or scrubbers inside after dinner.
- Mixing food, soap, and toiletries in the same box.
- Ignoring campsite food-storage rules because the organizer has a lid.
There are also honest downsides to every style. Soft organizers are easiest to carry, but they can slump and trap crumbs in seams. Hard bins stay cleaner and protect gear better in rain, but they waste space if you do not add smaller pouches inside. Chuck boxes are the most satisfying to cook from, yet they are bulky enough that many weekend campers eventually stop bringing them.
The fix is to do one dry run at home. Load the organizer with the exact gear you use, then set up a meal on a driveway table or garage bench. Time how long it takes to find your stove lighter, cutting board, tongs, dish soap, and trash bag. If you have to dig for those basics, the layout is wrong. That small test is more useful than any product description.
FAQ
What should a camp kitchen organizer hold?
It should hold your high-use kitchen essentials: utensils, lighter, spice kit, small oil bottle, cutting board, soap, sponge, towels, trash bags, and other small prep items. Bulky cookware and perishables often work better in separate storage.
Is a chuck box better than a soft organizer?
A chuck box is better for longer stays, family camps, and elaborate cooking because it creates cleaner work zones. A soft organizer is better for short trips, smaller cars, and campers who want lighter, simpler storage.
Can I leave a camp kitchen organizer out overnight?
Not if it contains food, dirty cookware, toiletries, or anything with odor. Many park and forest rules treat those items as wildlife attractants, so clean and store them properly before bed.
How do I keep a camp kitchen organizer from becoming messy?
Use separate pouches or compartments for prep tools, wash gear, and pantry items, then do a full reset after each meal. The organizer stays tidy when you clean and repack immediately instead of stacking one meal on top of the next.
Final Verdict
A good camp kitchen organizer should make camp cooking feel calmer, cleaner, and faster after the second meal, not just look good in the driveway. If you focus on the six checks above, you will end up with a setup that suits your trip style, protects food better, handles cleanup more cleanly, and wastes less time every morning and evening. For most campers, that is the real upgrade: not more gear, but less friction.